
Javascript Code
                        // Title: Happy Shifting - A 4-bit Combinational Circuit Shifter Party


// Draw the base of the shifter

ctx.fillStyle = '#f0f0f0';

ctx.fillRect(50, 50, 412, 300); // Large rectangle for the circuit body


// Color for the inputs and outputs

ctx.fillStyle = '#d3d3d3';


// Inputs

ctx.fillRect(60, 70, 30, 30); // Input I0

ctx.fillRect(60, 120, 30, 30); // Input I1

ctx.fillRect(60, 170, 30, 30); // Input I2

ctx.fillRect(60, 220, 30, 30); // Input I3

ctx.fillRect(60, 270, 30, 30); // Input S1

ctx.fillRect(60, 320, 30, 30); // Input S0


// Outputs

ctx.fillRect(422, 70, 30, 30); // Output O0

ctx.fillRect(422, 120, 30, 30); // Output O1

ctx.fillRect(422, 170, 30, 30); // Output O2

ctx.fillRect(422, 220, 30, 30); // Output O3


// Draw lines for connections

ctx.strokeStyle = '#000000';

ctx.lineWidth = 2;


// Input Lines

ctx.beginPath();

ctx.moveTo(75, 85);

ctx.lineTo(150, 85);

ctx.stroke(); // Connect I0 to the circuit


ctx.beginPath();

ctx.moveTo(75, 135);

ctx.lineTo(150, 135);

ctx.stroke(); // Connect I1 to the circuit


ctx.beginPath();

ctx.moveTo(75, 185);

ctx.lineTo(150, 185);

ctx.stroke(); // Connect I2 to the circuit


ctx.beginPath();

ctx.moveTo(75, 235);

ctx.lineTo(150, 235);

ctx.stroke(); // Connect I3 to the circuit


ctx.beginPath();

ctx.moveTo(75, 285);

ctx.lineTo(250, 285);

ctx.stroke(); // Connect S1 to the circuit (shared line for select inputs)


ctx.beginPath();

ctx.moveTo(75, 335);

ctx.lineTo(250, 335);

ctx.stroke(); // Connect S0 to the same line as S1


// Output Lines

ctx.beginPath();

ctx.moveTo(422, 85);

ctx.lineTo(362, 85);

ctx.stroke(); // Connect circuit to O0


ctx.beginPath();

ctx.moveTo(422, 135);

ctx.lineTo(362, 135);

ctx.stroke(); // Connect circuit to O1


ctx.beginPath();

ctx.moveTo(422, 185);

ctx.lineTo(362, 185);

ctx.stroke(); // Connect circuit to O2


ctx.beginPath();

ctx.moveTo(422, 235);

ctx.lineTo(362, 235);

ctx.stroke(); // Connect circuit to O3


// Draw the muxes and gates inside the shifter

ctx.fillStyle = '#90ee90'; // Light green for the logic elements


// Muxes for each bit

ctx.fillRect(200, 65, 50, 50); // MUX for O0

ctx.fillRect(200, 115, 50, 50); // MUX for O1

ctx.fillRect(200, 165, 50, 50); // MUX for O2

ctx.fillRect(200, 215, 50, 50); // MUX for O3


// Internal connections for the logic

ctx.strokeStyle = '#ff4500'; // A spicy orange for internal logic connections

ctx.lineWidth = 1;


// Connect select lines to each mux

ctx.beginPath();

ctx.moveTo(250, 310);

ctx.lineTo(225, 310);

ctx.lineTo(225, 90);

ctx.lineTo(250, 90);

ctx.stroke(); // S0 and S1 to MUX O0


ctx.beginPath();

ctx.moveTo(250, 310);

ctx.lineTo(225, 310);

ctx.lineTo(225, 140);

ctx.lineTo(250, 140);

ctx.stroke(); // S0 and S1 to MUX O1


ctx.beginPath();

ctx.moveTo(250, 310);

ctx.lineTo(225, 310);

ctx.lineTo(225, 190);

ctx.lineTo(250, 190);

ctx.stroke(); // S0 and S1 to MUX O2


ctx.beginPath();

ctx.moveTo(250, 310);

ctx.lineTo(225, 310);

ctx.lineTo(225, 240);

ctx.lineTo(250, 240);

ctx.stroke(); // S0 and S1 to MUX O3


// Connect input I0 to MUX for O1

ctx.beginPath();

ctx.moveTo(150, 85);

ctx.lineTo(200, 135);

ctx.stroke();


// Connect input I1 to MUX for O2

ctx.beginPath();

ctx.moveTo(150, 135);

ctx.lineTo(200, 185);

ctx.stroke();


// Connect input I2 to MUX for O3

ctx.beginPath();

ctx.moveTo(150, 185);

ctx.lineTo(200, 235);

ctx.stroke();


// Connect MUX outputs to circuit outputs

ctx.beginPath();

ctx.moveTo(250, 90);

ctx.lineTo(362, 90);

ctx.stroke(); // MUX O0 to O0


ctx.beginPath();

ctx.moveTo(250, 140);

ctx.lineTo(362, 140);

ctx.stroke(); // MUX O1 to O1


ctx.beginPath();

ctx.moveTo(250, 190);

ctx.lineTo(362, 190);

ctx.stroke(); // MUX O2 to O2


ctx.beginPath();

ctx.moveTo(250, 240);

ctx.lineTo(362, 240);

ctx.stroke(); // MUX O3 to O3


// Add some fun little LEDs for input and output indicators

const drawLED = (x, y, color) => {

  ctx.beginPath();

  ctx.arc(x, y, 5, 0, 2 * Math.PI);

  ctx.fillStyle = color;

  ctx.fill();

  ctx.stroke();

};


// Input LEDs


// Output LEDs


// Important: Append the canvas to the DOM to see the result


// The LEDs aren't real, but they sure do make the circuit look like it's having a party! 🎉
AI
Model: gpt-4-1106-preview
Time: 138 seconds
Prompt Tokens: 441
Completion Tokens: 1534
Total Token Cost: 1975
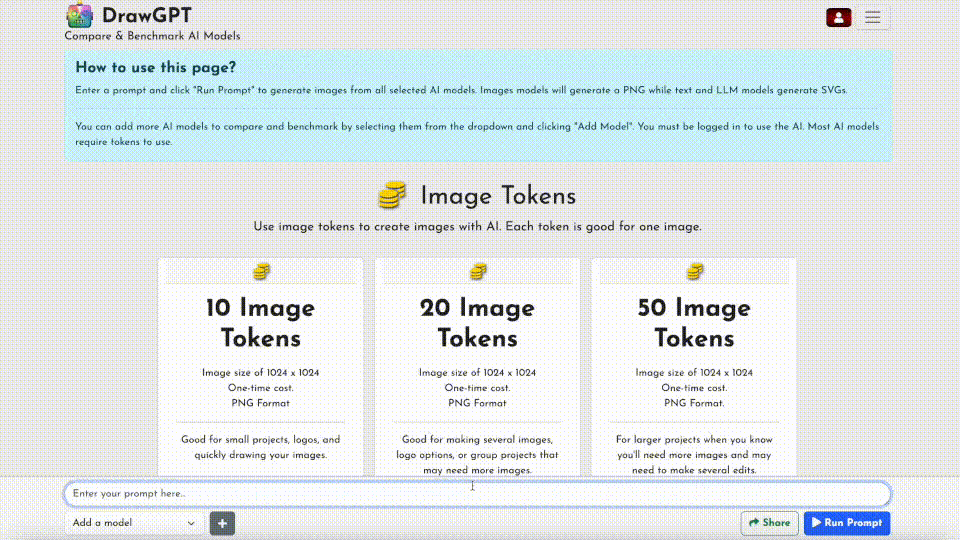

 balloon party
 beautiful beach
 cute puppy dog
 happy cat
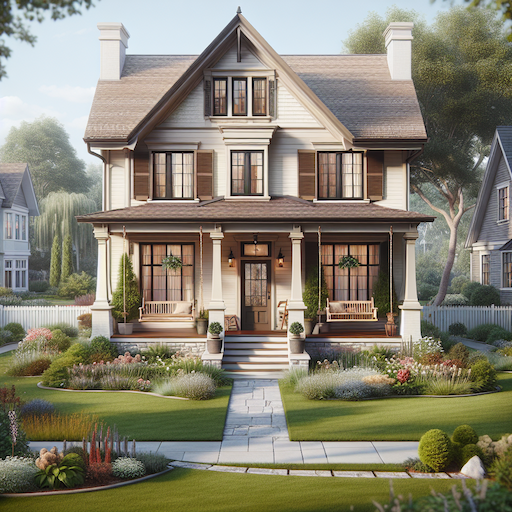 house
house